
2006 to early 2007
April 2005 to April 2006 - the back yard re-built and the garage finished
With the builders off site it was over to us!
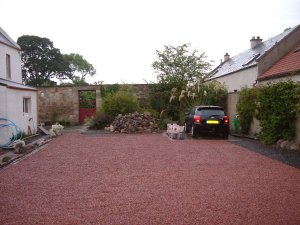
The first stage was to clear up the yard. Under the original stones had been a tarred yard which was now lost below what turned out to be over 10 cubic yards of stones, soil, cement mixer emptyings etc.
This took much longer then expected but eventually we found the remains of our tarred yard and set about repairing it.
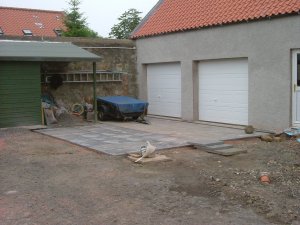
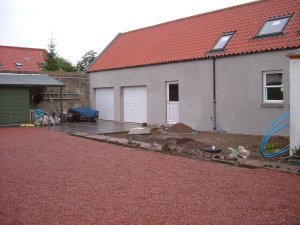
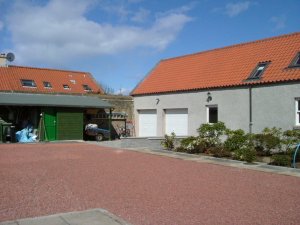
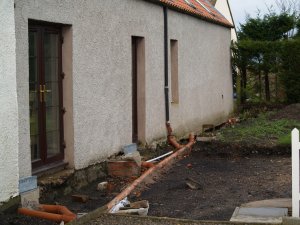
The area in front of the garages had not surprisingly taken most of the damage. This had also been subject to flooding, especially after the after re-surfacing of the access road.
To prevent any future problems an ACCO channel drain was installed in front of the garage and connected into the new rainwater drainage system.
There was little remaining of the original yard surface in this area so we laid 44 (600mm by 600mm) heavy gauge slabs as a hard standing in front of the garages.
This however proved to be too small to easily turn the "Pan" around on so a further 32 were added.
With the path back to the kitchen re-instated the yard was taking shape and next followed repairs to the yard surface.
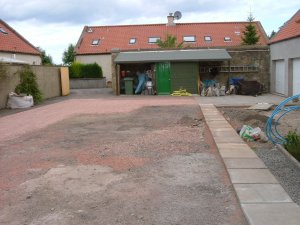
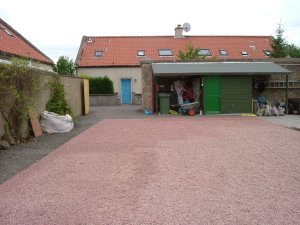
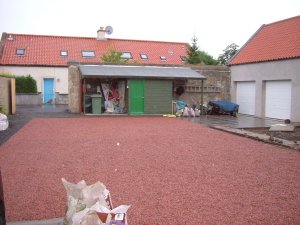
We managed to salvage enough grey chips to re-create (a slightly reduced) border but needed 7 tons of new red chips to cover the centre area.
We had kept a large pile of stones for the brother of a friend who eventually decided that it really was too difficult to transport them. So now we will have to hire a skip and dispose of them.
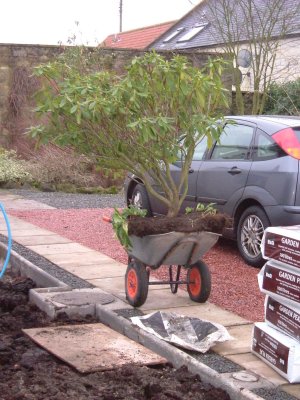
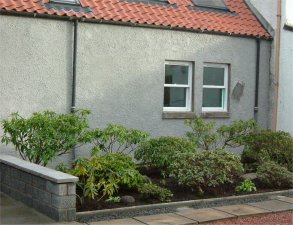
The next stage was to address the drainage in front of the new kitchen break up the compacted soil to restore Jill's rhododendron bed. The plants having spent the past year in the walled garden without any loss during the move.

Moving the larger plants was a major undertaking and was carried out in early January 2006. Sixteen bales of peat and two loads of well rotted horse manure improved the soil. Moving the biggest plants required assistance from Ewen.
At the same time we completed the two decorative walls using blocks from the Marley Argent range which separate the rear entrance path from the garage standing area.
Over the Christmas and New Year holidays work has also started on the garage fit out, Due to other events this has taken longer than expected.
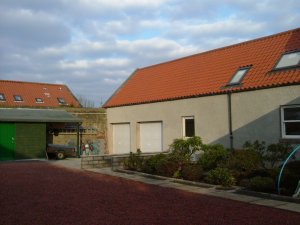
By April however progress had been made and the outside was looking great as the rhododendron started to bloom.
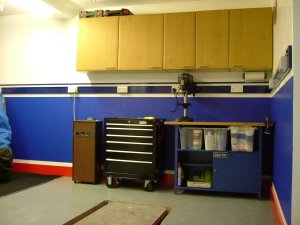
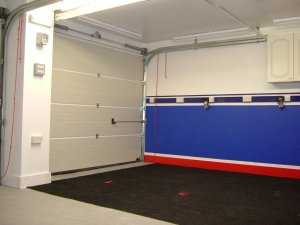
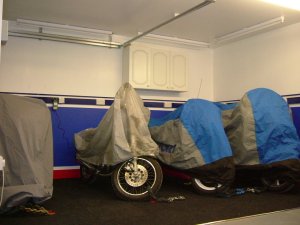
Meanwhile work on fitting out the garage was ending. Ten strip lights and 14 double sockets were installed. The parking area for the bikes was floored with carpet tiles and the battery trickle chargers installed. The bike lift was in the floor, workbench and tool trolley in place, cabinets on the walls (still on searching for a few more) and being filled. .
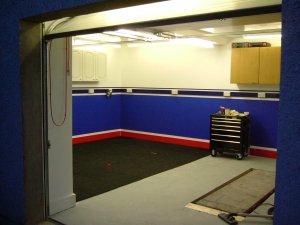
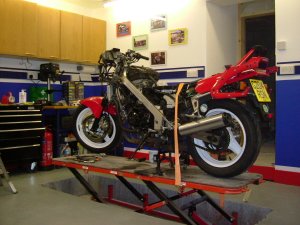
With this fit out complete it was now time to test out the facilities with a quick service of the VFR.
Summer 2006 to January 2007 - starting the front patio and the utility area
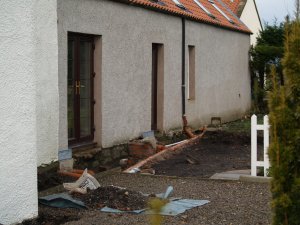
Summer gardening and holidays slowed progress and it was autumn before serious work started on the front patio. Digging out 13 Cubic yards of soil and subsoil for the patio base also exposed some interesting drain configuration which had to be addressed. By December the new drains were in place and once weather improves the patio will progress.
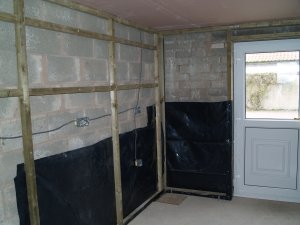
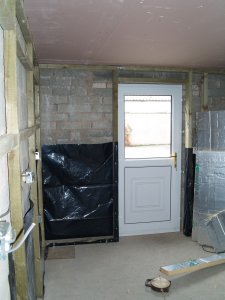
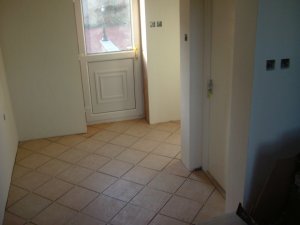
The next internal phase was the utility area. This covers the door to the back yard and the entrance to the garage. It will be used to house the large chest freezer (normally filled with garden produce) and also a cupboard for the bike gear - nice and handy for the garage.
Construction was the usual timber frame, insulation board and platerboard. I did my own pasterboard joint taping but will employ a plasterer for the ceiling. The floor tiles have been laid at 45 degrees to make the area look bigger. The tiles were all cut and loose laid before installing electric under floor heating mat. This with a programmer will allow us to have warm tiles when we get back from a bike trip, very nice as we get out of the bike boots and bike gear. :-))
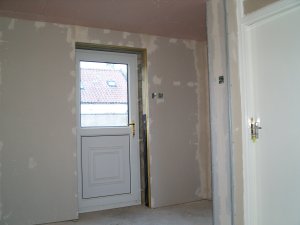
Jill has chosen some very nice polished brass electrical fittings which have clip covers with no visible mounting screws.